7 Tips to Troubleshoot Flow Noise in Ball Valves

Time:2026-10-30 Author:Mason
0%

Flow noise in a ball valve is more than an irritating hiss or rattle. It can signal excessive velocity, cavitation, turbulence, vibration, or a mismatch between the valve and its service conditions. A sharp whistle near the valve body differs from a low rumble in the connected pipe. The sound is a clue, not a diagnosis. Start with evidence.

This guide explains how to troubleshoot flow noise in ball valves through seven practical checks: operating pressure, flow rate, valve sizing, opening position, fluid condition, installation, and internal wear. For transparency, the quoted specialist below is a fictional composite, not a real person or sourced industry quotation. “Change one condition at a time, and record what the sound does,” says fictional valve engineer Daniel Mercer. That advice keeps testing orderly, though it cannot replace the valve manufacturer’s instructions or a qualified site assessment.

Note the noise’s pitch, location, and timing. Does it begin only at partial opening? Does it change when downstream demand shifts? Check pressure readings and operating records before adjusting equipment. A loose support, sharp reducer, or nearby elbow can amplify vibration and mislead even experienced technicians. Small clues matter. Do not assume every noisy valve is defective; sometimes the surrounding piping or operating conditions deserve closer attention. Use these steps to narrow the possibilities, identify when inspection is warranted, and decide what evidence to share with a qualified valve specialist.
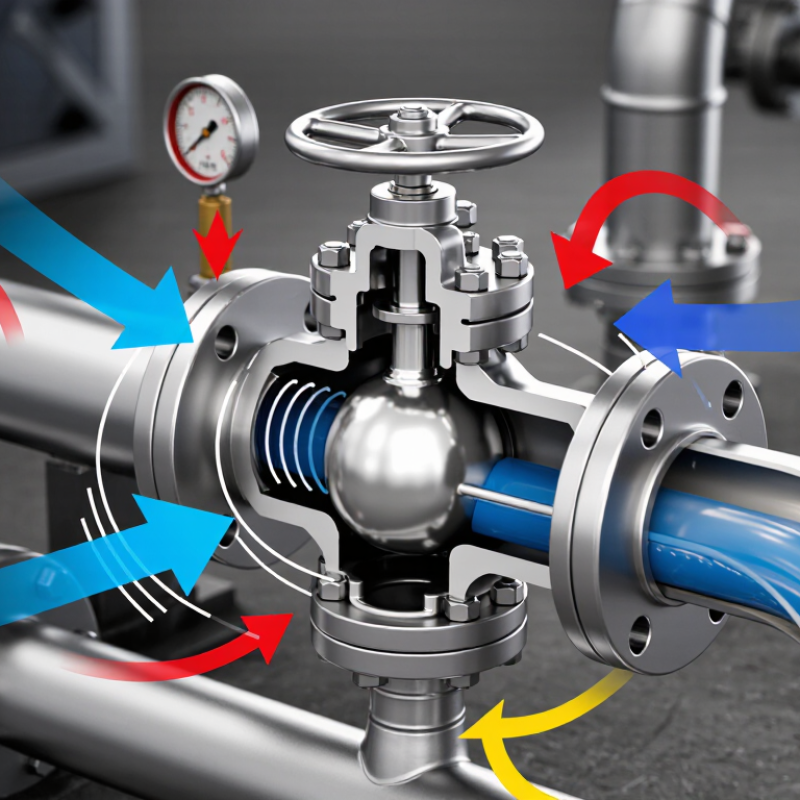
7 Tips to Troubleshoot Flow Noise in Ball Valves

Identify the Noise Pattern and Record Operating Conditions

Ball-valve flow noise is useful evidence, but it is not a diagnosis by itself.

Tip: Identify the pattern first. A steady hiss may differ from a narrow whistle, intermittent crackle, or rattling vibration. Note where the sound is strongest: at the valve body, downstream pipe, or actuator. Record whether it begins during startup, at a particular valve opening, or only as flow rises. One loud reading is easy to overinterpret.

Tip: Log the operating conditions beside each observation. Record upstream and downstream pressure, flow rate, fluid temperature, valve position, and whether the line is liquid or gas. Use the same sound-meter location and distance each time, and note the measurement units. A phone recording can help compare patterns, but it is not a calibrated measurement. I would not treat it as proof.

For context, NIOSH’s Criteria for a Recommended Standard: Occupational Noise Exposure sets an 85 dBA recommended exposure limit over eight hours, using a 3 dB exchange rate. That is a worker-exposure reference, not a valve-fault threshold. If readings approach it, assess exposure with suitable equipment. Compare measurements under similar conditions; otherwise, changes in pressure or flow may explain the difference. Check again.

Check Valve Sizing, Pressure Drop, and Flow Velocity

Flow noise at a ball valve can point to excessive velocity, an unsuitable valve size, or a sharp pressure drop. Start with the numbers. Record upstream and downstream pressure while the valve is operating, not just at design conditions. Note the flow rate, fluid temperature, and valve position. A quiet startup can turn into a loud hiss as demand rises.

Check valve sizing against the actual operating range. Compare the required flow capacity with the valve’s Cv at its normal opening; do not select by pipe diameter alone. An undersized valve may create high velocity and excess pressure loss. An oversized valve may run nearly closed, making control less stable. A clean calculation is useful, but it can miss a brief startup spike. Small details matter.

Measure the pressure drop directly across the valve. For liquids, a large drop may cause cavitation if local pressure falls below the fluid’s vapor pressure; a crackling sound can be a warning. Gas flow may produce a sharp hiss when velocity is high. Check pipe velocity against the project’s engineering limits, and compare readings at several flow rates. If the noise appears only at one operating point, review that condition before changing the valve size.

7 Tips to Troubleshoot Flow Noise in Ball Valves - Check Valve Sizing, Pressure Drop, and Flow Velocity
Tip What to Check Why It Can Cause Noise Practical Troubleshooting Step
1. Verify valve sizing Compare the valve’s flow capacity and operating position with the required flow rate. An oversized valve may operate almost closed, concentrating flow through a small opening and creating turbulence, hiss, or whistle. Confirm the actual flow rate and operating conditions, then have the valve size and flow coefficient checked by a qualified engineer. Avoid selecting a valve by pipe size alone.
2. Measure pressure drop Record pressure immediately upstream and downstream of the valve under stable operating conditions. A large pressure drop across a partly open valve can produce high-speed flow, turbulence, and—in suitable liquids—cavitation. Compare the measured pressure drop with the system design and valve limits. Check whether the drop can be reduced or managed with an appropriate valve arrangement.
3. Check flow velocity Estimate velocity using measured flow and the inside diameter of the pipe or valve passage. High velocity can increase turbulence and noise, particularly at restrictions, reducers, and partially open valve ports. Review velocity against the project’s piping and process design criteria. If it is excessive, evaluate lower flow, a larger flow passage, or revised piping with an engineer.
4. Look for cavitation or flashing For liquids, compare local pressure in the valve with the liquid’s vapor pressure at operating temperature; note crackling or gravel-like sounds. Cavitation occurs when vapor bubbles form and collapse as pressure recovers. Flashing occurs when vapor remains downstream because pressure stays below vapor pressure. Check pressure and temperature data against the fluid’s vapor pressure. If cavitation or flashing is likely, obtain a process review for a suitable valve design and pressure-reduction strategy.
5. Confirm the operating position Check whether the ball valve is fully open, correctly positioned, and being used within its intended service. Standard on/off ball valves may generate unstable, noisy flow when used for sustained throttling, depending on valve design and operating conditions. Compare the required control duty with the valve manufacturer’s operating guidance. Use a valve designed for control service where continuous throttling is required.
6. Inspect the installation and nearby piping Check for abrupt reducers, elbows, tees, partially blocked strainers, loose supports, and pipe contact with structures. Disturbed flow or inadequate pipe support can create turbulence, transmit vibration, or make normal flow noise sound much louder. Inspect the line safely, verify supports and clearances, and check strainers for blockage. Follow applicable piping guidance when considering straight-run changes.
7. Check for vibration, wear, or leakage Look for movement at the valve and pipework, external leakage, damaged components, or noise that has changed over time. Loose supports, worn internal parts, or a leaking seat can cause rattling, vibration, or other abnormal sounds. Isolate and depressurize the line before inspection or maintenance. Follow site procedures and have qualified personnel inspect or repair the valve.

Inspect the Ball, Seats, and Internal Flow Path

Inspect the ball under good lighting. Look for crescent-shaped wear, scoring, or mineral deposits across its sealing surface. Even a narrow scratch can disturb flow and whistle as fluid passes. Check both seats for flattening, chips, or embedded grit; a seat can look intact yet fail to seal evenly. Listen closely. Note whether the sound changes as the valve moves through its travel. A partly open ball may create a concentrated jet, while a rough or misaligned internal passage can add turbulence. Not always. Noise alone does not prove cavitation; pressure, fluid temperature, and operating position matter.

Compare the valve’s noise at the same flow and pressure before and after inspection. Check the bore for debris, burrs, or abrupt restrictions, and confirm that connected pipework is not transmitting vibration. IEC 60534-8-4:2015 describes a method for predicting noise from hydrodynamic flow in control valves; its approach reinforces the value of recording operating conditions, not relying on sound alone. For exposure context, NIOSH’s Criteria for a Recommended Standard: Occupational Noise Exposure recommends an 85 dBA eight-hour time-weighted average, using a 3 dB exchange rate. That is a workplace exposure benchmark, not a valve fault limit. If the sound is sharp or rising, document the valve position and nearby pressure readings before changing settings. A quick ear check can miss the cause.

Assess Cavitation, Flashing, and Turbulence

Start by matching the sound to operating conditions. Cavitation often produces a gravel-like crackle when pressure falls below the liquid’s vapor pressure and bubbles collapse downstream. Check pressure readings on both sides of the valve, along with fluid temperature. Small pressure changes can shift where cavitation begins. Listen closely.

Flashing is different: vapor forms and remains because downstream pressure stays below vapor pressure. Look for persistent vapor, wire-drawn erosion, or damage concentrated near the outlet. Do not treat every hiss as flashing; entrained gas and leaks can sound similar. Compare actual pressure and temperature with reliable fluid data, then inspect the valve outlet and nearby pipe.

Turbulence may create a broad roar or vibration, especially when a valve operates far open or nearly shut. Check flow rate, valve position, and pressure drop; a sharp bend close to the outlet can add disturbance. Sound alone is weak evidence. It is easy to overread it. Record conditions at the moment noise occurs, and compare them with a quieter operating period. If the diagnosis remains uncertain, have a qualified valve specialist review the measurements before changing the trim or operating point.

7 Tips to Troubleshoot Flow Noise in Ball Valves: Assess Cavitation, Flashing, and Turbulence

Illustrative pressure profiles for water at 20°C. Compare pressure through the valve with water’s vapor pressure (about 0.0234 bar absolute): recovery above the threshold suggests cavitation potential, while pressure remaining below it downstream indicates flashing.

Use actual fluid temperature, pressure measurements, valve sizing, and operating conditions to diagnose noise. These example values are illustrative, not field measurements or universal limits.

Apply Corrective Measures and Verify the Results

When correcting flow noise, change one condition at a time. If the valve is nearly closed, test whether a more open position reduces the hiss or rumble. Confirm that the valve is correctly sized for the actual flow; an oversized valve may operate mostly throttled. Check upstream and downstream pressure with suitable gauges, and compare readings with the system’s normal operating range. A sharp pressure drop can contribute to cavitation, especially when liquid service produces a crackling sound. Do not adjust the process blindly. Isolate and depressurize equipment before inspection, and follow site procedures.

Noise can also come from loose pipe supports, turbulent fittings, or a pump rather than the valve itself. It is tempting to blame the valve immediately, but that can send troubleshooting in the wrong direction. Secure visibly loose supports and inspect nearby connections for vibration, without overtightening them. If the pressure drop remains excessive, have a qualified engineer assess valve selection or pressure staging. Small changes matter.

After each correction, restore the same flow conditions and record pressure, valve position, and sound level from a consistent location. Listen for changes, but do not rely on hearing alone; use a vibration meter when available. Check the full operating range, not just one quiet moment. If the noise shifts downstream or returns at higher flow, the cause may still be present. Keep the readings, even when the result is disappointing.

FAQS

What can the sound of a ball valve tell me?

A steady hiss, narrow whistle, crackle, or rattle can suggest different flow patterns. Sound alone is not a diagnosis.

What should I record when the noise starts?

Note pressure before and after the valve, flow rate, fluid temperature, valve position, and whether the line carries liquid or gas. Record where the sound is strongest and when it begins.

Can a phone recording measure valve noise accurately?

It can help compare sounds recorded from the same spot and distance. It is not a calibrated measurement, so I would not treat it as proof.

What should I inspect inside the valve?

Look for scratches, crescent-shaped wear, mineral deposits, flattened seats, chips, and trapped grit. A narrow scratch can disturb flow and produce a whistle.

Why might noise change as the valve opens?

A partly open ball can form a concentrated jet. A rough passage or misaligned parts may add turbulence. The sound may still point us in the wrong direction.

Does a whistle prove cavitation?

No. Pressure, fluid temperature, and valve position also matter. Noise alone cannot confirm cavitation.

How can I compare noise before and after inspection?

Compare readings at similar pressure and flow, using the same meter location and distance. Otherwise, changed operating conditions may explain the difference.

When should I take a sharp or rising sound seriously?

Document the valve position and nearby pressure readings before changing settings. If workplace exposure may approach 85 dBA over eight hours, assess it with suitable equipment. That figure is an exposure reference, not a valve-fault limit.

Conclusion

Flow noise in a ball valve can signal excessive velocity, pressure loss, internal wear, or unstable flow. To determine how to troubleshoot flow noise in ball valves, first describe the sound—such as hissing, rattling, or vibration—and record operating conditions, including flow rate, inlet and outlet pressures, temperature, and valve position. Then check that the valve is appropriately sized and that pressure drop and flow velocity are within suitable limits. Inspect the ball, seats, and internal passage for wear, damage, debris, or restrictions that could disrupt flow.

Next, consider whether cavitation, flashing, or turbulence is causing the noise, using the process conditions to guide the assessment. Apply a suitable corrective measure, such as adjusting operating conditions, correcting sizing issues, or repairing worn components. Afterward, repeat the measurements under comparable conditions and listen for changes. Verifying the results helps confirm whether the source has been addressed and provides a useful baseline for future monitoring.

Mason

Mason

Mason is a seasoned marketing professional with a deep expertise in the company's offerings and a passion for driving brand awareness. With a strong background in digital marketing strategies, he has an innate ability to connect with diverse audiences and effectively communicate product benefits.......